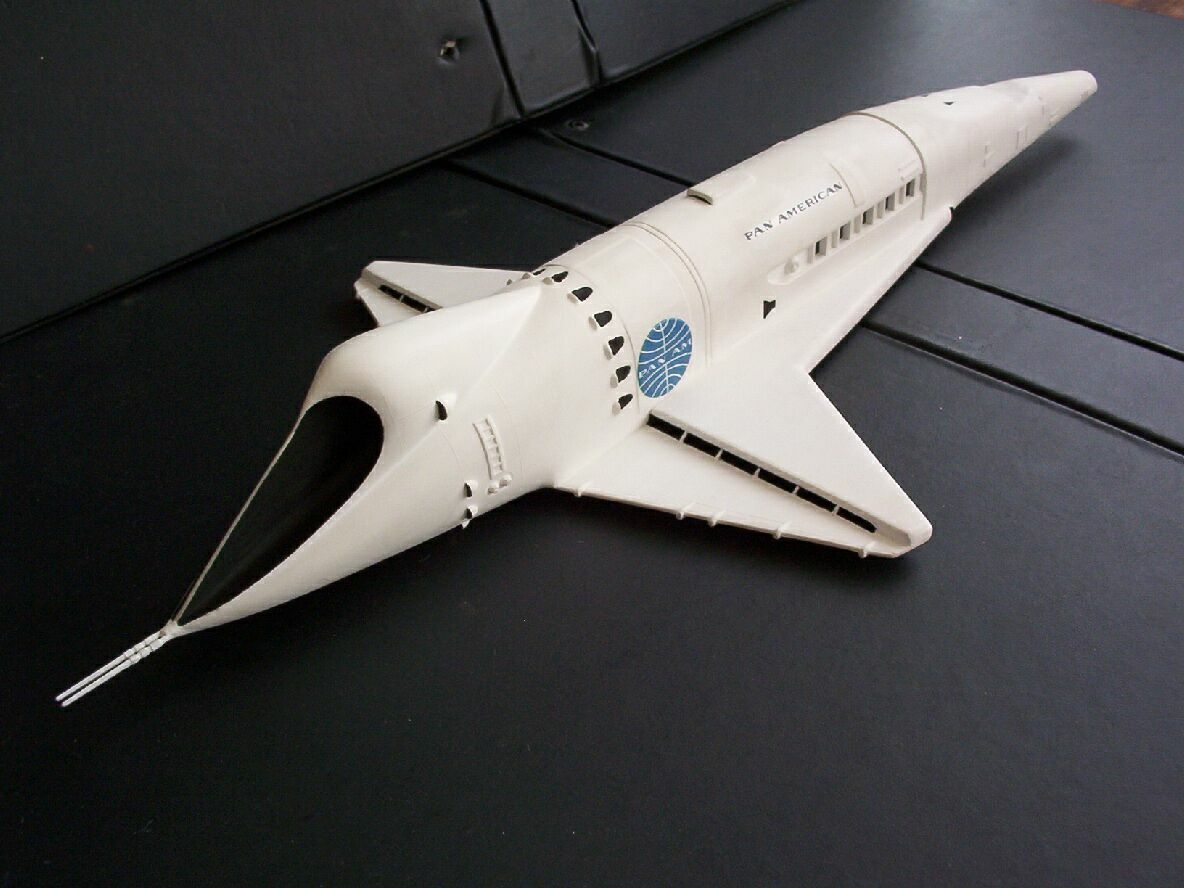
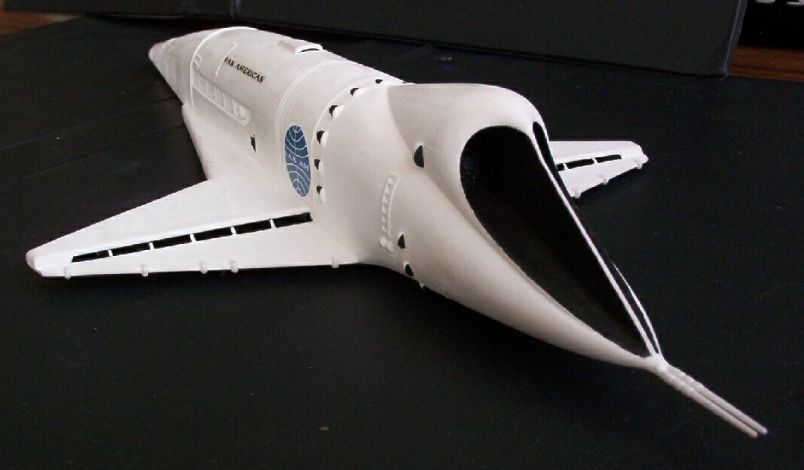
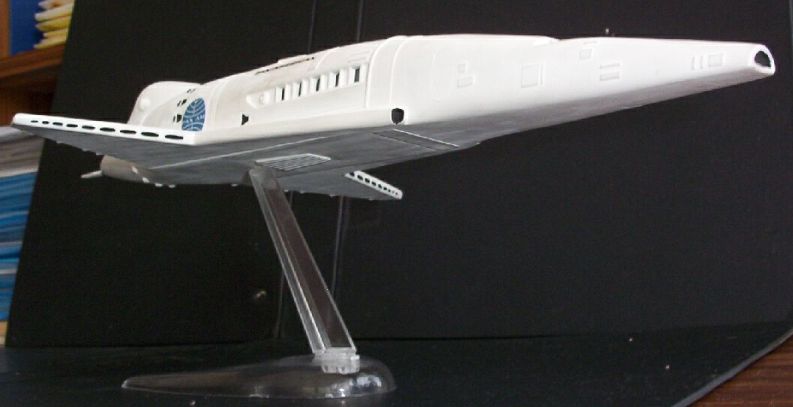
Twenty two years later, a return in interest in model making, and 2001 decals from Griffon Games I set about building the kit. I used information from Starship Modeler and Underman's 2001. The photos showed in fact that the panels were correct. It was interesting comparing the accuracy of the Aurora model with the Airfix kit. The Airfix kit has a vertical nose, instead of one slanting down, the front window is too small, the wrong shape and should be sloping at an angle, and the side windows are about 30% too large. The rear engine is also too high. The Aurora kit on the other hand does not have the top scoop and forward facing thrusters that go around the spacecraft. The indentations on the nose and where the front of the wings meets the body are also missing. Surprisingly, the original Pan Am artwork for the Airfix kit appears remarkably accurate, with correct size windows and engine.
I decided the build the kit as is. Although the kit has few parts (15) I found it difficult to build. A lot of putty and sanding is required. I painted the interior matt black (I don't like the idea of painting the insides of the windows). Several thin coats of matt white were used for the outside. The windows, wing exhaust ports, and top exhaust port were masked with Tamiya masking tape, an excellent product (much better than any other tape I've used in the past). The engine and thruster exhausts were then painted matt black with the engine detail painted gun metal. The Tamiya tape was again used to mask out the engines. I then attached the rear antennas, again with a lot of putty and sanding to smooth out the larges gaps. I left this part till last since I didn't want to damage the antennas while handling the model.
I then atteched the decals. The decals went on OK. I then tried painting the Pan American decal with matt clear. Oh Oh! The decal smudged and was ruined. The other decal also came off and was slightly damaged. I didn't want to pay another US$8.50 for another set of decals. So, I spent a couple of days designing the Pan American logo on my computer and printing on decal paper from Bare-Metal Foil & Hobby with my laser printer. I printed four decals and two Orion III decals for the stand. I then tried air brushing Microscale Liquid Decal Film on the decals, as recommended by the decal paper instructions. No joy, it just clogged my airbrush. Thinning the film with alcohol produced a spray, but produced a milky finish after drying. Rubbing alcohol on the film got rid of the milky finish. I then tried just painting the film with a brush, and this worked just fine!
Before attaching the new decals I painted the side air intakes and the top two foward thrusters, again using Tamiya masking tape. The decals went on, but after drying peeled off! I tried vinegar and white spirit to get them to stick, but not joy. I then tried the decal film and this did the trick, but the two decals were very weak and were damaged. Not to worry, I had two spares! You can download these decals here.
|
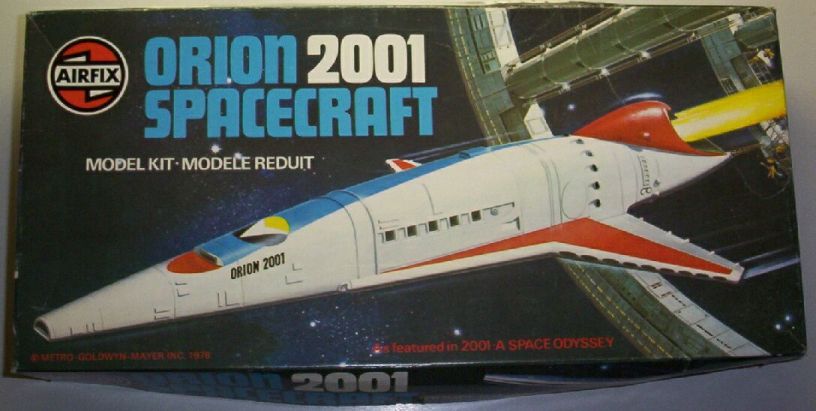
Box. |
 |
Second scene from movie. The main photo is the first scene. |
 |
This scene was cut from the movie. |
 |
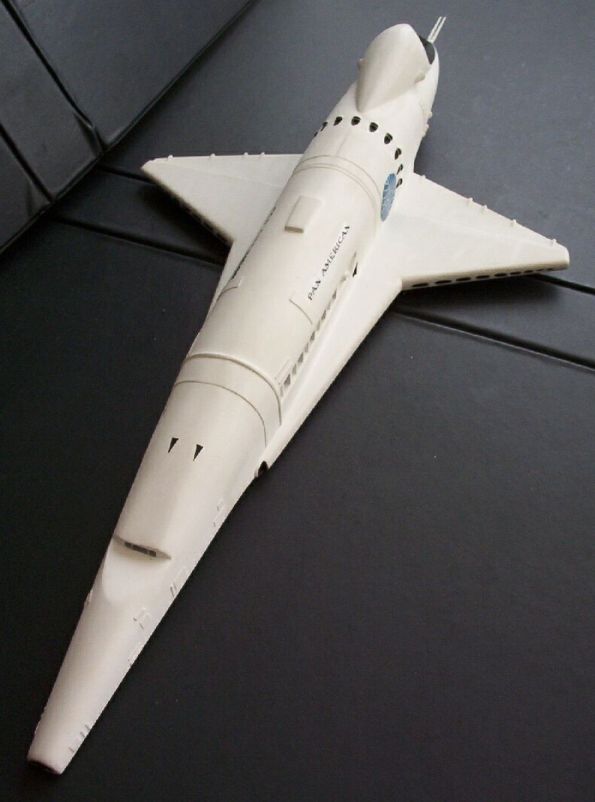
Also cut from the movie. I later added the Pan Am decals to the bottom of the wings. |