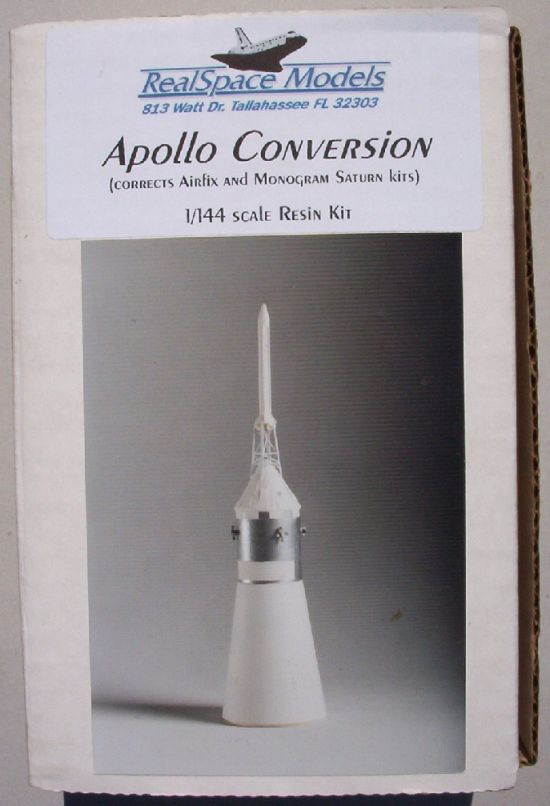
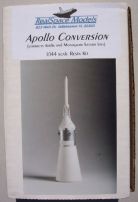
RealSpace 1/144 Apollo Conversion
This is my first resin kit which I built for my Airfix 1/144 Saturn IB. The
Airfix kit suffers from the service module (SM) being 3 mm thinner and being
Block I instead of II. The RealSpace kit corrects these defiencies, but
unfortunately suffers from a number of inaccuracies.
 |
The parts come in a sturdy cardboard box. |
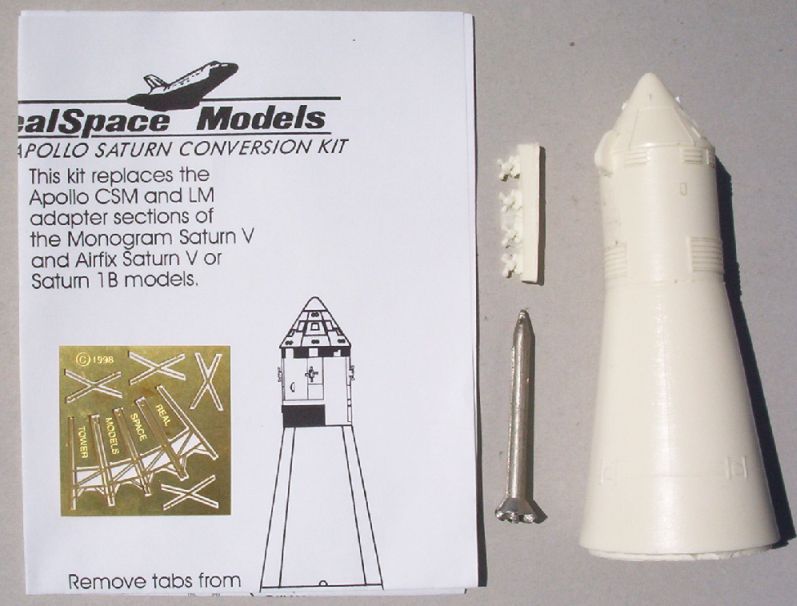
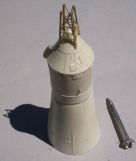
Starting from the top, the white metal Launch Escape Tower (LET) is oval in
shape, most likely due to being copied from the Airfix kit. The outer most
window panel covers on the boost protective cover (BPC) are too low. The top
and bottom radiators on the SM are in the wrong positions. The bottom radiator
should have thin radiator above it. The hinges on the spacecraft launch adapter
are closer to the earlier SLA's as used on Apollo 7, but not for latter Apollo
flights, which are much more pronounced.
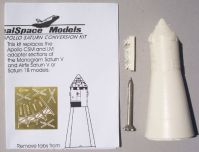 |
What you get. |
I started by first washing the resin parts to remove any risidual mold release.
The instructions say to cut the flange on top of the S-IVB and superglue the
SLA directly to the S-IVB. However, I wanted to be able to exchange my Airfix
SLA and be able to see the top of the S-IVB. So, I cut off as much of the base
with a thin saw as possible, filing and sanding off the rest. I then drew an
inner circle with pencil. I used this as a guide to carefully remove the resin
inside the circle using a wood carving tool. Lots of resin dust was generated,
so I wore a mask to keep my lungs clean.
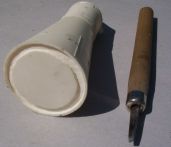 |
Base carved so it would plug onto S-IVB. |
I then started to correct some of the details of the kit. Using plastic card
I added four small circles with the bottom cut off between the hinges. I also
trimmed the hinges to be shorter. Long thin pastic card was added to the right
side of the hinges.
Two small semicircular antennas using plastic card were added between the
thruster pods on the SM. This meant the antennas were misaligned with the
bottom radiators. I don't know why these parts were not included with
the photoetch. I had to clean up some scratches under the umbilical between the
command module (CM) and SM. These were most likely caused by the umbilical
scratching the mold in previous castings. There were a small number of bubbles
and pinholes to fill in. The thruster pods were very difficult to remove and
clean up. I ended up breaking off three engines, one which I lost and had to
scratchbuild. These look like to be a copy of the Airfix parts.
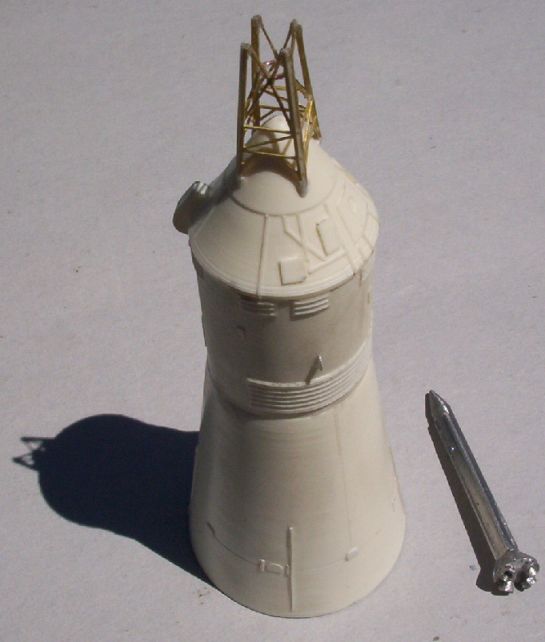
For the LET trusswork, I added a small circle made from copper wire between
the four separate bent trusses. Again, I don't why this part is not included
in the photoetch. I had to sand the LET quite a bit to get a smooth finish.
There was also some flash in the separation rockets which was hard to remove.
 |
Parts prepared for painting. |
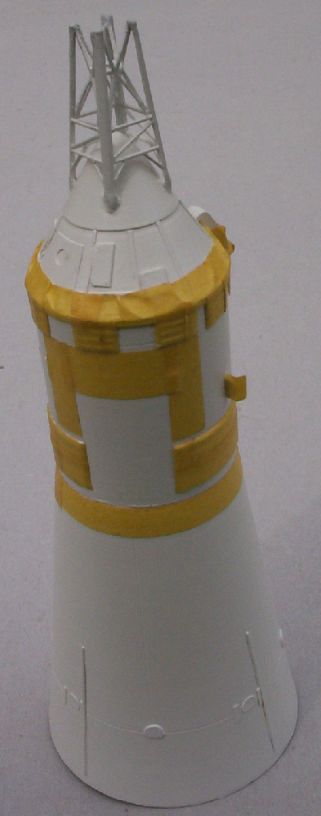
I then airbrushed three coats of satin white onto the assembled parts. I did
not glue the LET at this stage, as the engine nozzles would need to be painted
later. The SM was masked. Different to later Block II SMs, there are additional
white areas near the thruster pods. I aligned these to the bottom radiators
which meant they were misalgned with the thruster pods.
 |
SM masked up. |
The SM was then painted with my old 25 year old Humbrol silver. After removing
the masking tape, the other details were painted. I touched up the silver with
my 0/20 brush, the finest I could buy. The porthole in the BPC was painted
gloss block. The umbilical was painted with my new Humbrol silver (after
removing excess liquid). The LET nozzles were painted brown with the tip
painted silver.
The kit does not include any decals, so I had to make them myself. The US logo
and flag were printed on white decal paper on my inkjet printer. The four
small "portholes" near the top of the SLA were printed on my laser printer.
You can download these decals here.
These decals also include the S-IB fin markings and the US logo and flag for
the Lunar Module.
The LET was then superglued in place. I placed small pieces of decal paper on
the front two legs so as to get the alignment right. Finally, I painted the
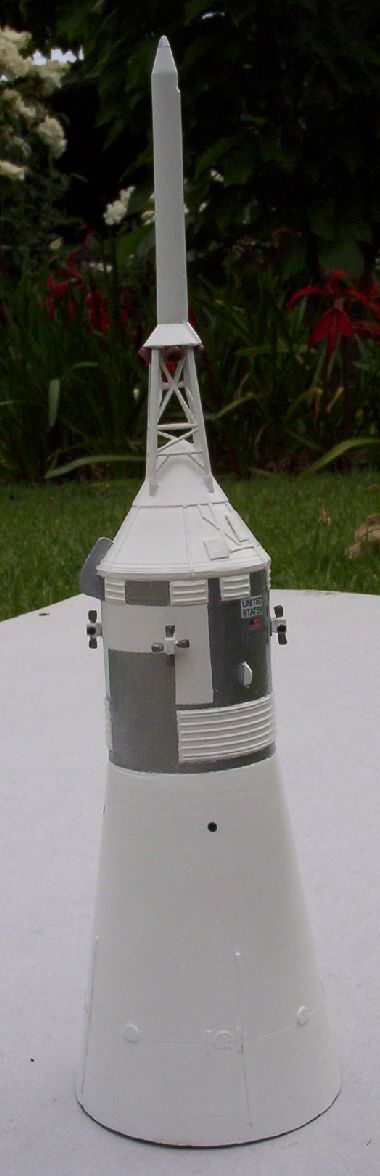
base a greeny brown colour and took some photos.
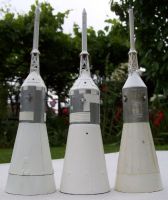 |
The left kit is from my Saturn IB which I built up as a latter Block II.
The right Airfix kit is from my Saturn V which I built in 1977. Note the ant on
the SLA! |
The RealSpace Apollo conversion is a significant improvement over the Airfix
and Monogram kits. However, it seems to have been rushed together, with many
annoying inaccuracies. There are also parts missing which could have been
easily included with the photoetch. The final word on a 1/144 Apollo Spacecraft
has yet to be made.